Writing a book, step by step
The whole process, in the order you actually do it — from an empty project to a finished, illustrated book.
Start your first bookWhat you are building
Dream2Art is a writing tool with an AI that drafts for you. It is not a button that produces a novel — you make every decision about the story, and the model writes to your instructions.
A book here is a nested structure. The project is the book. Inside it are parts, and inside those, chapters. A chapter holds scenes, and a scene is made of blocks — a paragraph of action, a run of dialogue, a description, or an illustration. You can write any block yourself, and you can hand any of them to the model.
Alongside that structure sits the Story Bible: your characters, locations and objects, each with details and reference images. Nothing in the Bible appears in the book by itself. It is the material the model draws on so that your protagonist looks and sounds the same in chapter nine as in chapter one.
The work splits roughly in half. You decide what happens, who is present, and what each scene is for. The model turns that into prose and pictures. The better your half is, the less you rewrite.
On a phone every workspace shows one panel at a time — switch between them with the buttons at the top — and anything you would drag on a computer moves through a ⋯ or move button instead.
- You write: the outline, each scene's synopsis, the cast, the rules of your world.
- The model writes: scene prose, block by block, and the illustrations.
- Generation costs credits, so it is worth setting a scene up properly before running it.
- Everything is editable afterwards — generated text is a draft, not a verdict.
Create the book
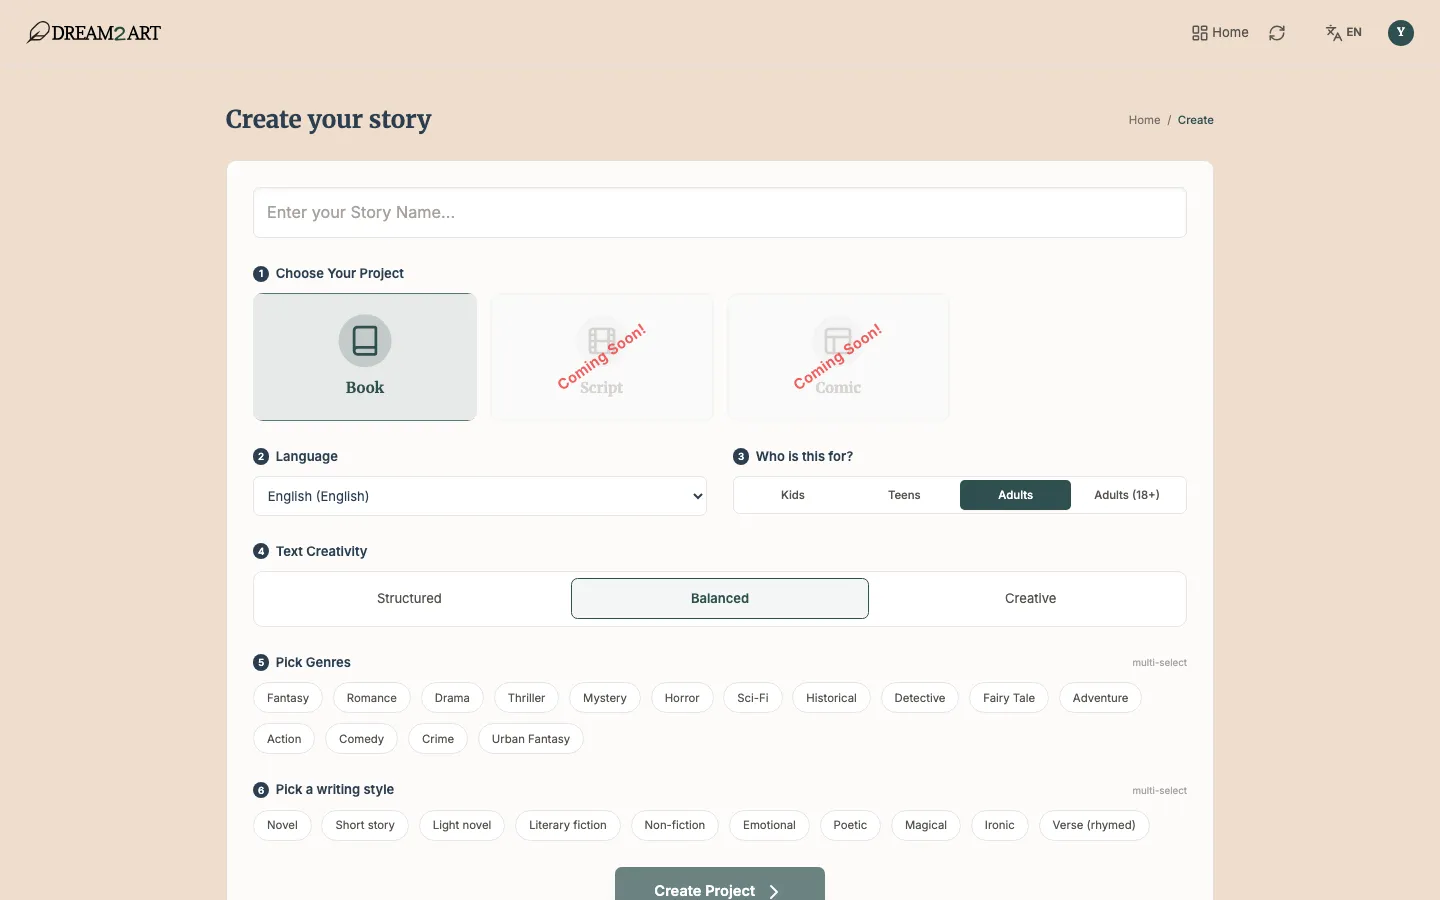
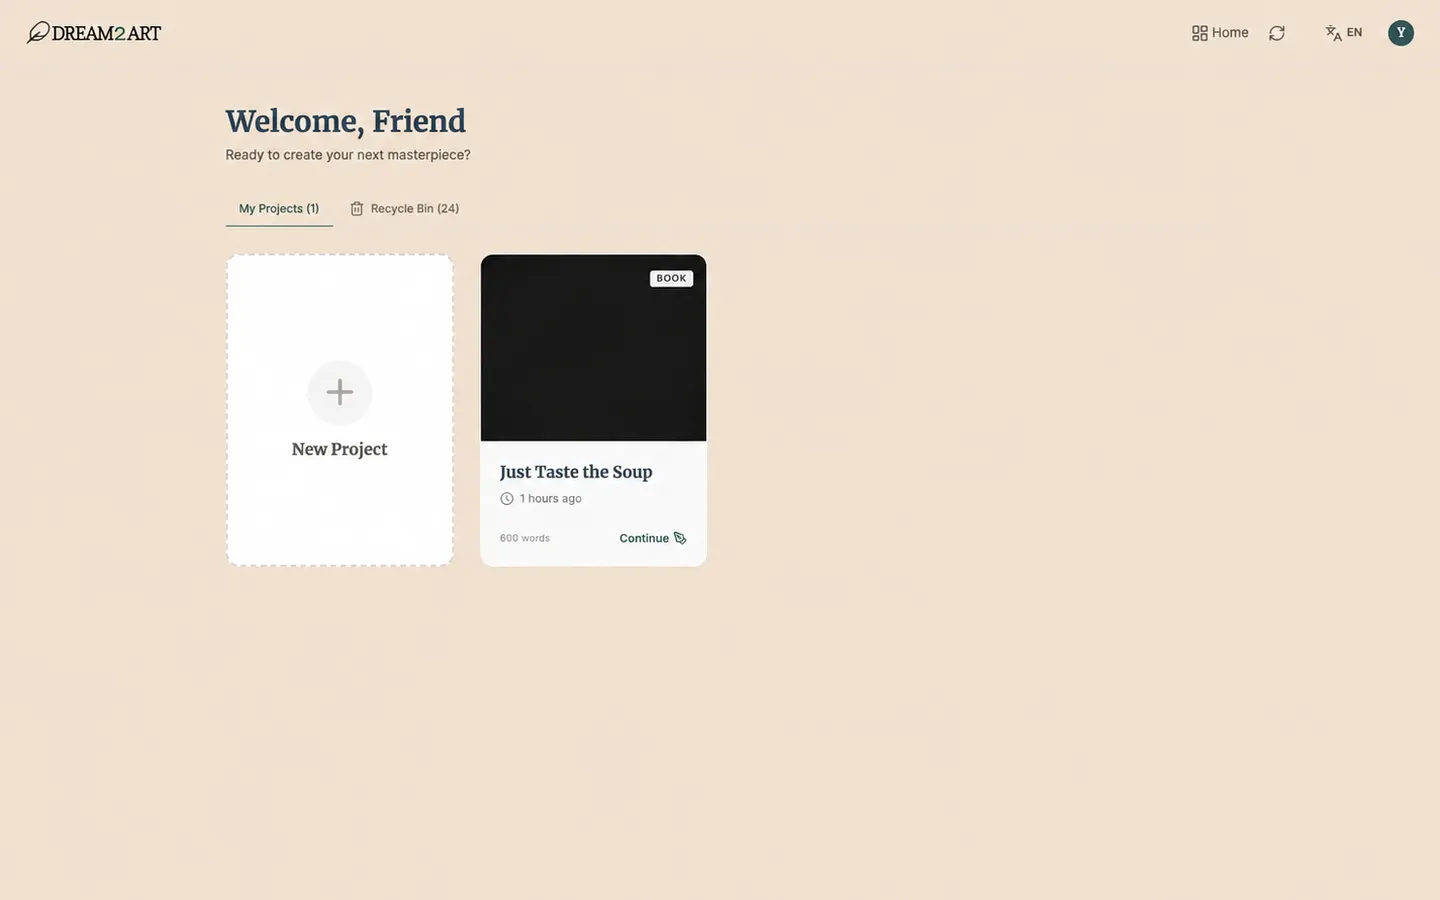
The New Project form has six numbered steps. It looks more binding than it is — everything except the project type can be changed later in Config.
Name the story, keep the type on Book, and pick the language you will write in. The language is the book's language, not the interface language: you can read the app in one language and write in another.
The remaining steps — audience, text creativity, genres and writing style — are the model's starting instructions. They are coarse settings, deliberately: they steer the default voice, and the Style Guide in step 3 is where you get precise.
- Audience sets how explicit the writing may be, from Kids to Adults 18+.
- Text creativity sets the voice, not the plot — Structured writes plain, restrained prose, Creative reaches for vivid imagery and metaphor. You can change it later for the whole project, or for a single generation.
- Genres and writing style are multi-select; two or three is plenty, and a long list dilutes rather than sharpens.
- Script and Comic projects are not available yet.
💡 Pick the language carefully. Everything else is easy to change later, but switching the language of a book you have already written means regenerating it.
Configure the project
Config is where the book's rules live. It opens automatically after you create the project, and it is worth ten minutes now rather than an afternoon later.
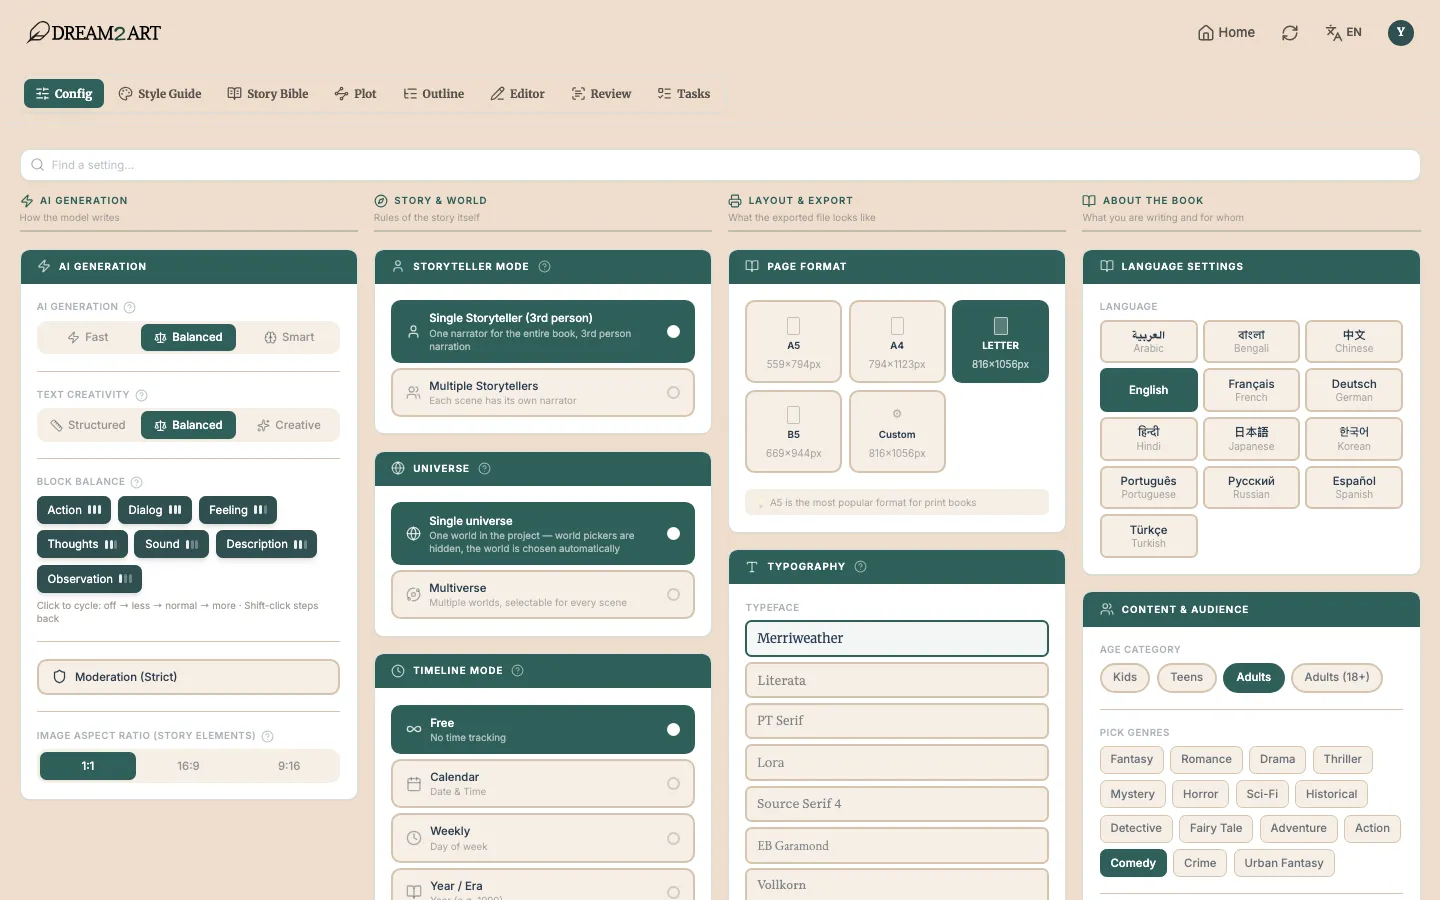
There are four groups. AI Generation controls how the model writes: its speed-versus-quality setting, text creativity, the balance of block types it should aim for, the moderation level, and the aspect ratio for story-element images. Block balance is the one people miss — it is how you ask for a dialogue-heavy book rather than a descriptive one.
Story & World sets the rules of the fiction: whether there is one narrator or one per scene, whether the project holds a single world or several, how time is tracked, and whether a generated scene may propose additions to the Story Bible. Layout & Export decides what the exported file looks like — page size, typeface, spacing, chapter headings, running heads.
About the Book holds what you chose when creating the project — language, audience, genres, writing style — plus your pen name and series. This is where you change any of those.
- Moderation can be relaxed on projects for adult audiences.
- Single universe hides the world pickers everywhere; switch to Multiverse only if you genuinely need several worlds, because going back is refused while more than one world exists.
- Timeline mode changes how scenes record when they happen — free, calendar dates, weekdays, years, or a countdown.
- A5 is the usual choice for a printed book; the preview in Outline reflects whatever you pick.
💡 Four settings are not freely reversible — language, page format, timeline mode and narrator mode. Each asks for confirmation and warns you, because changing one after you have written forty scenes means reworking them. Settle these before you start writing, not after.
Set the style
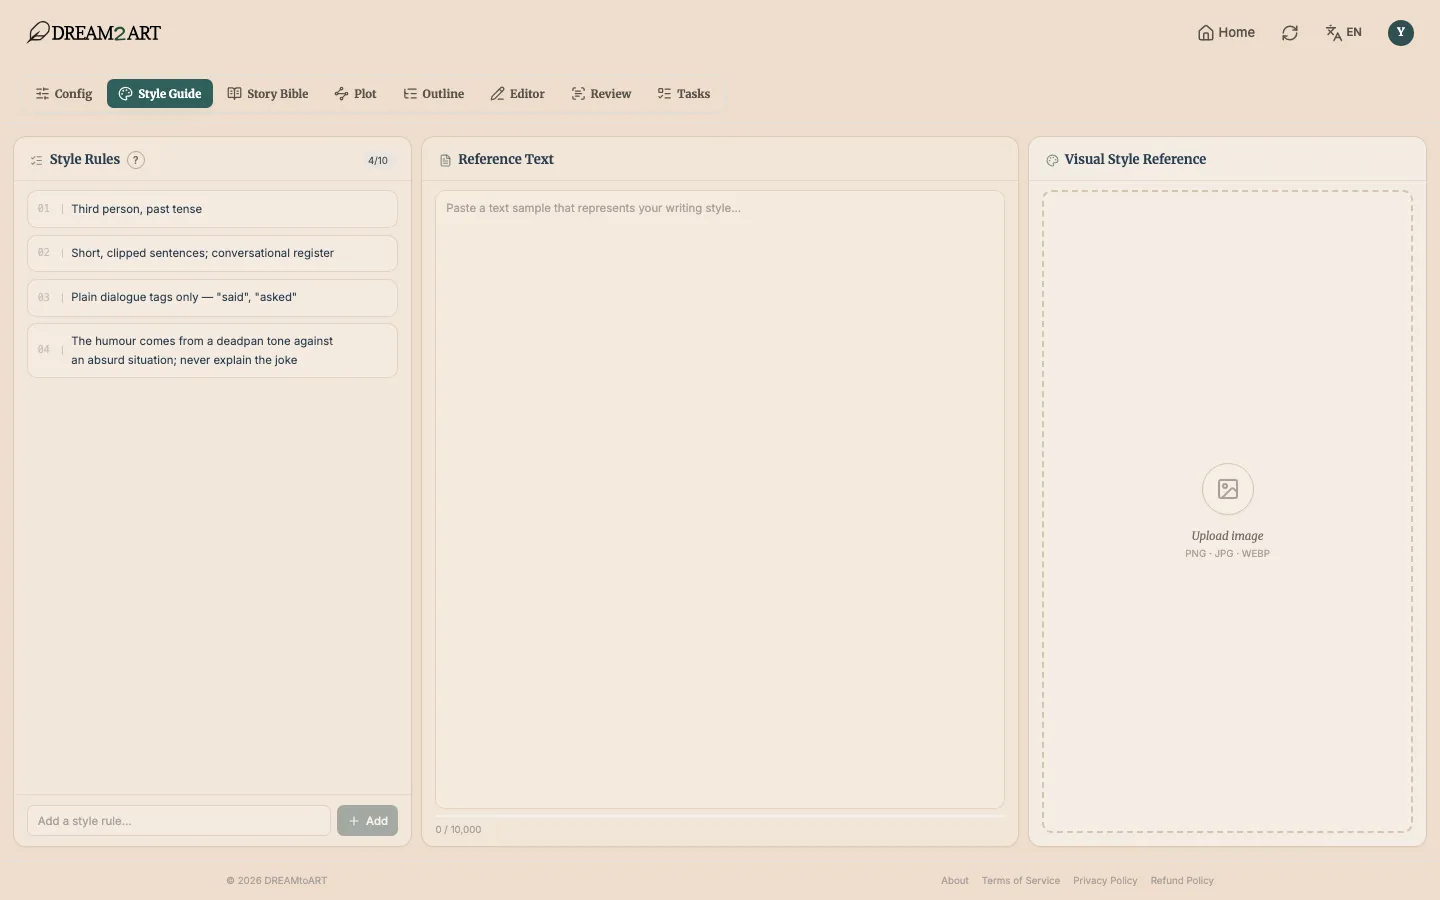
The Style Guide is the most direct control you have over how the writing sounds and how the pictures look. Its three parts reach different work: the reference text goes to every generation, the style rules to everything that writes text, the visual reference to everything that draws.
Style rules are hard constraints, up to ten of them, and they override the genre and writing style you picked earlier. Write them as instructions, not wishes: "third person, past tense" and "plain dialogue tags only" are usable; "make it beautiful" is not.
Reference text is a writing sample — yours, or any passage whose voice you want echoed. The visual style reference is an image that anchors every illustration in the book, and it is what keeps chapter one and chapter nine looking like the same book.
- Fewer, sharper rules beat ten vague ones.
- Rules describing what to avoid work as well as rules describing what to do.
- The visual reference sets mood, palette and medium — it is not a character sheet.
Build the Story Bible
The Bible is your cast and your world. It is the longest step, and the one that pays off most: everything here is available to every scene you write afterwards.
Nothing in the Bible appears in your book on its own. It is reference material. When a scene names a character, that character's details travel into the generation, which is why a well-described cast produces prose that stays consistent without you correcting it.
Build it as you need it. Two characters and a location are enough to start; you can add the rest as the story reaches them. A new project is not empty here — it arrives with one universe called Real world and a placeholder location, both meant to be renamed into your own.
Four kinds of element
Characters, locations, objects and universes. Characters and objects are what a scene's cast is made of. Locations can nest: create a building, then add its rooms as child elements using the plus button on the parent's row, and a scene set in a room inherits the building's context.
A universe is the world a book belongs to. In Single universe mode there is exactly one and you never have to think about it.
Ideas and details
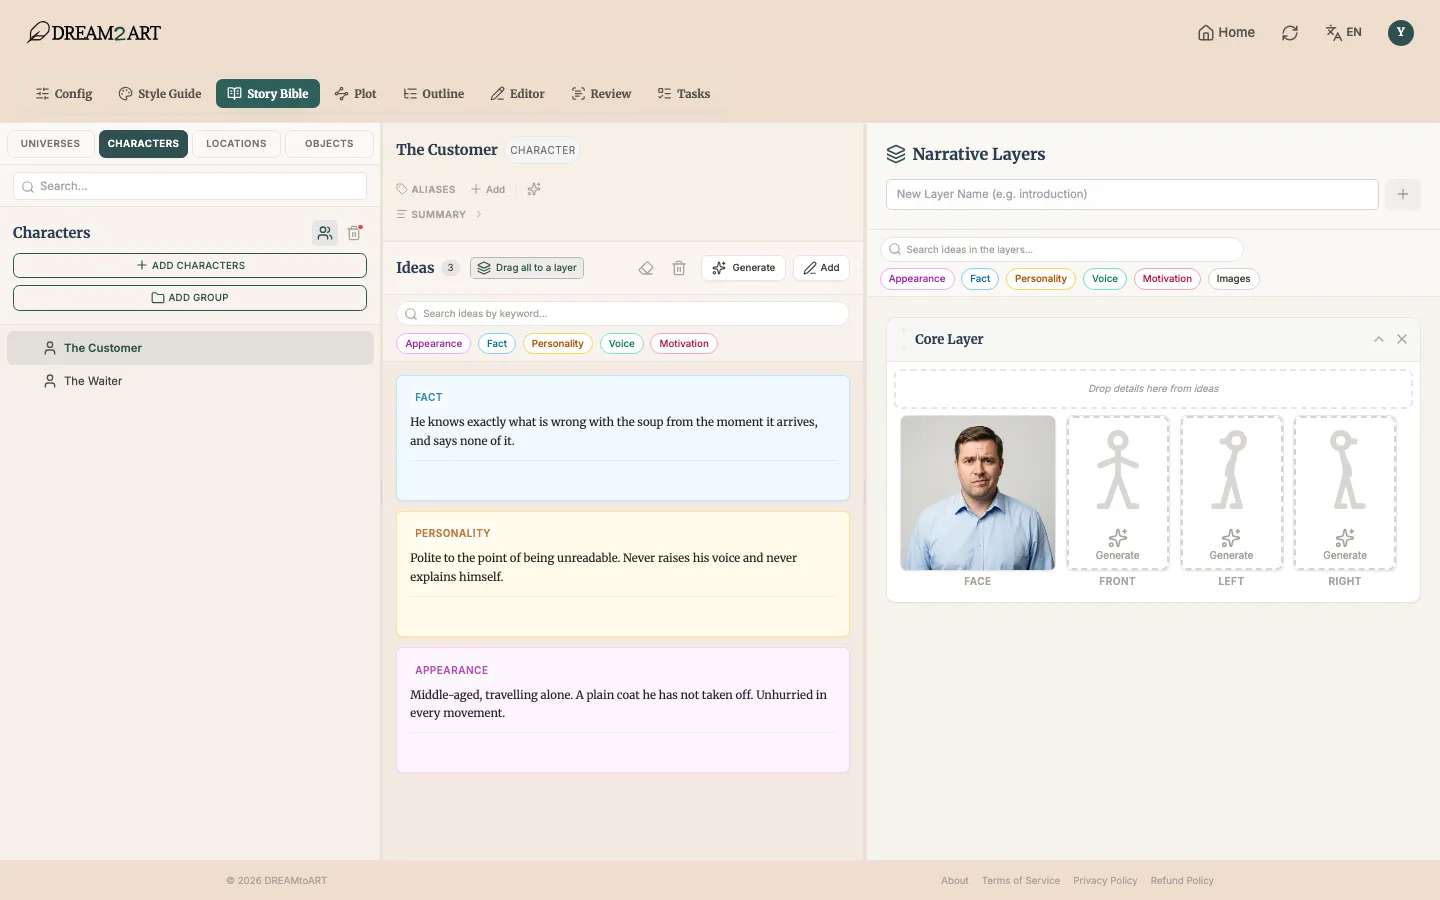
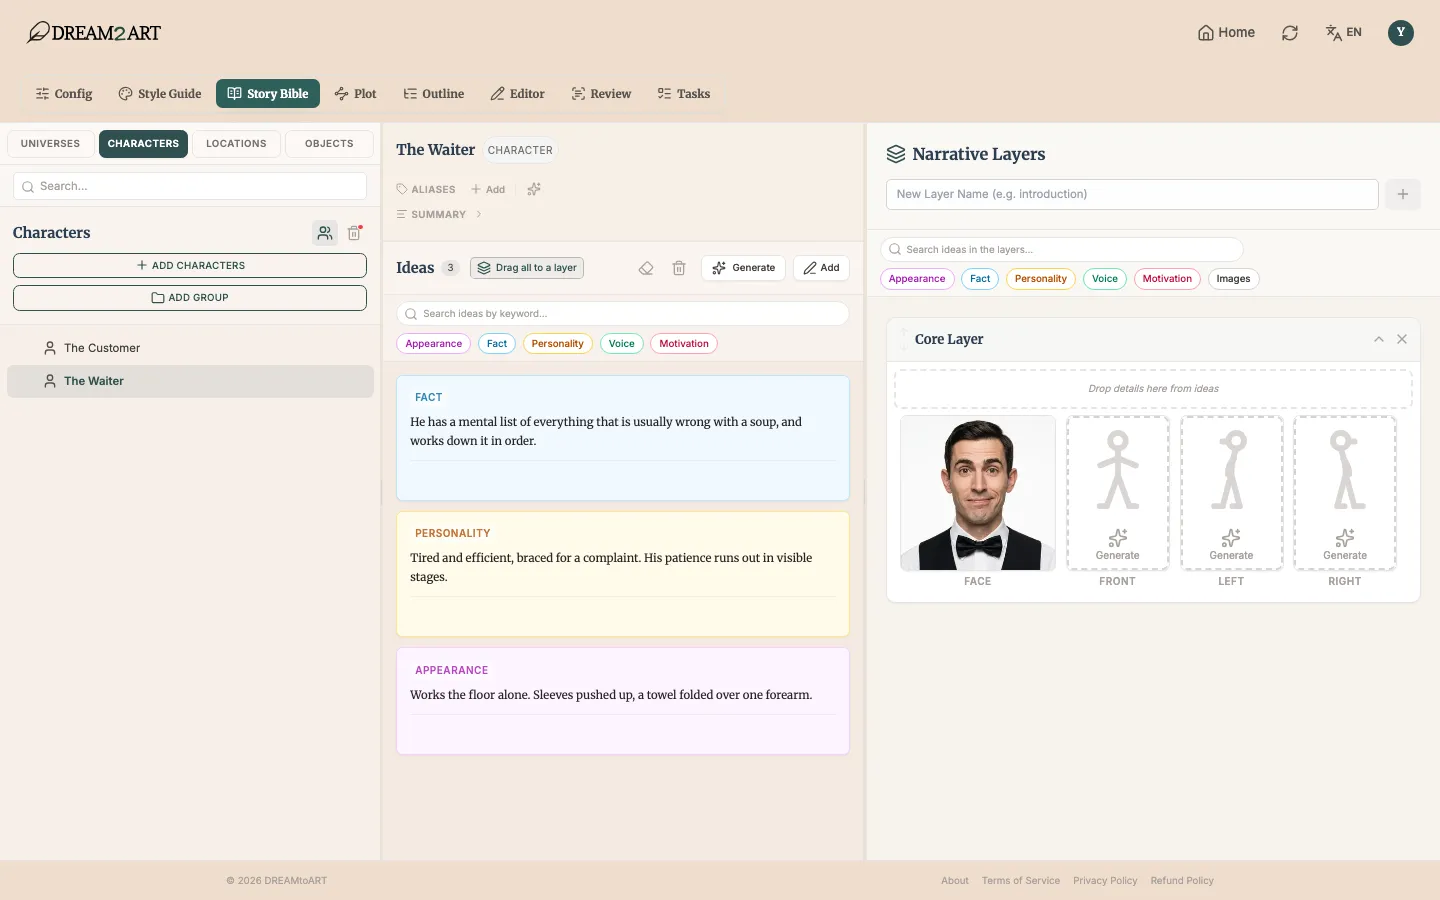
Each element collects ideas, typed by what they describe — appearance, a plain fact, personality, voice, motivation. Short and concrete beats long and literary: the model reads these as constraints, not as prose to imitate.
You can write them yourself, ask the model to suggest some, or accept the ones a generated scene proposes in its Lore tab — then keep the ones that fit. Ideas you keep become the element's details.
Layers
A layer is a version of an element at a point in the story. Every element starts with one Core Layer, and that is all most books need.
Add layers when a character genuinely changes — an injury, a disguise, twenty years later — so that scenes set before and after can each point at the right version.
Character views
A character layer holds four images: a face, and front, left and right full figures. Generate the face first — the other three are built from it, and the interface keeps them disabled until the character has been drawn at all.
Illustrations pick from these automatically. You do not choose an image per scene; the generator is given the catalogue and picks what the picture needs.
- Describe what is visible and what is constant — those are what keep a character recognisable.
- An object deserves its own element when the plot turns on it.
- Nest locations rather than repeating the same description in each room.
- Aliases let the model recognise a character called by a nickname in the prose.
- Characters and objects can be filed into groups — a crew, a bunch of keys — and a group can hold its own children.
💡 Generating all four character views costs roughly four times one. If you only need portraits for now, generate the face and leave the figures until a scene actually calls for a full-body illustration.
Build the outline
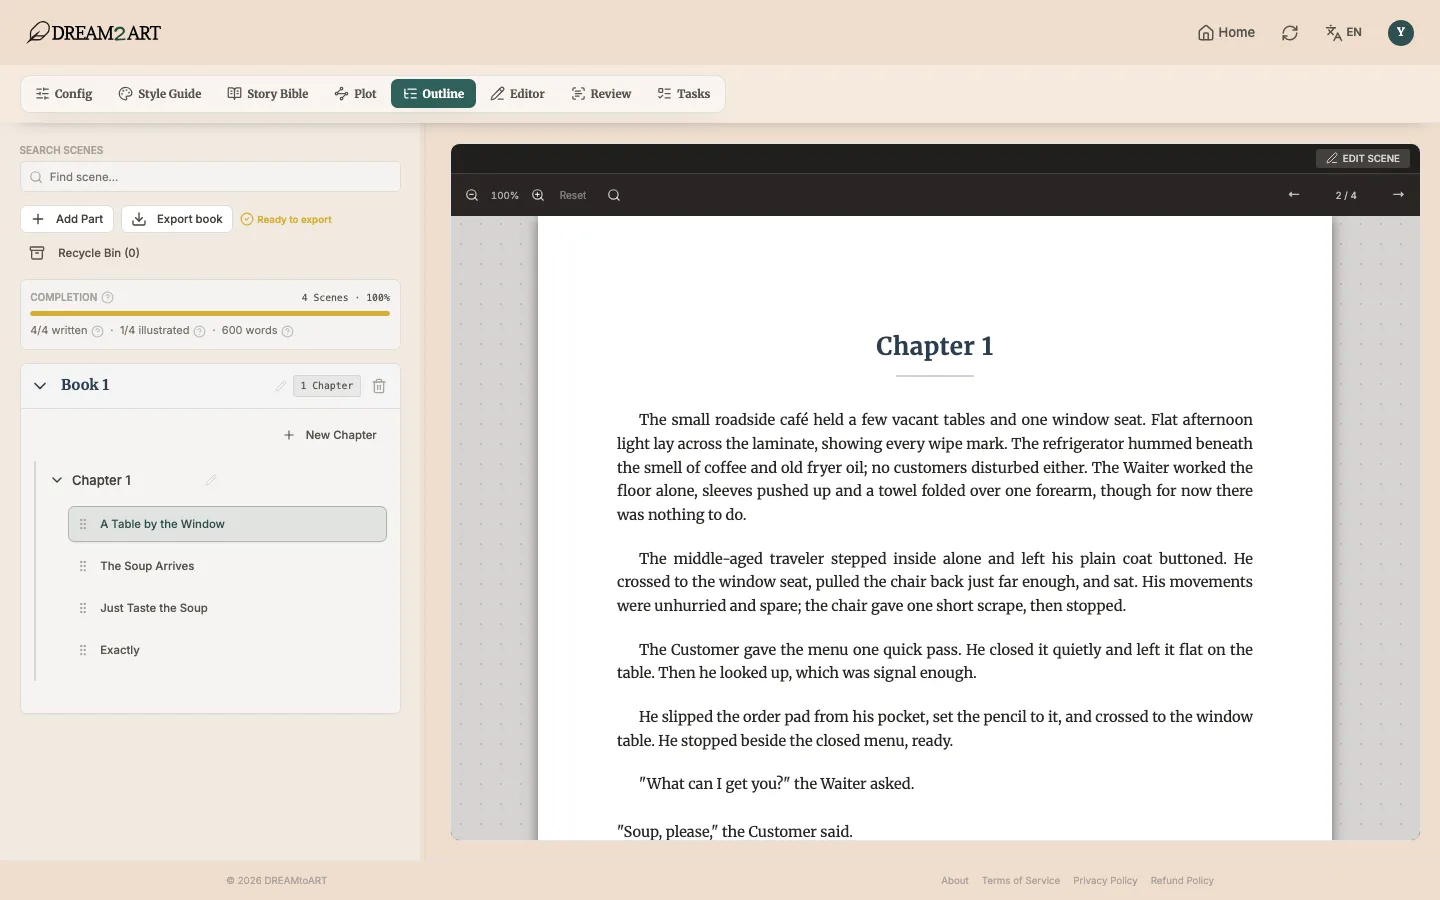
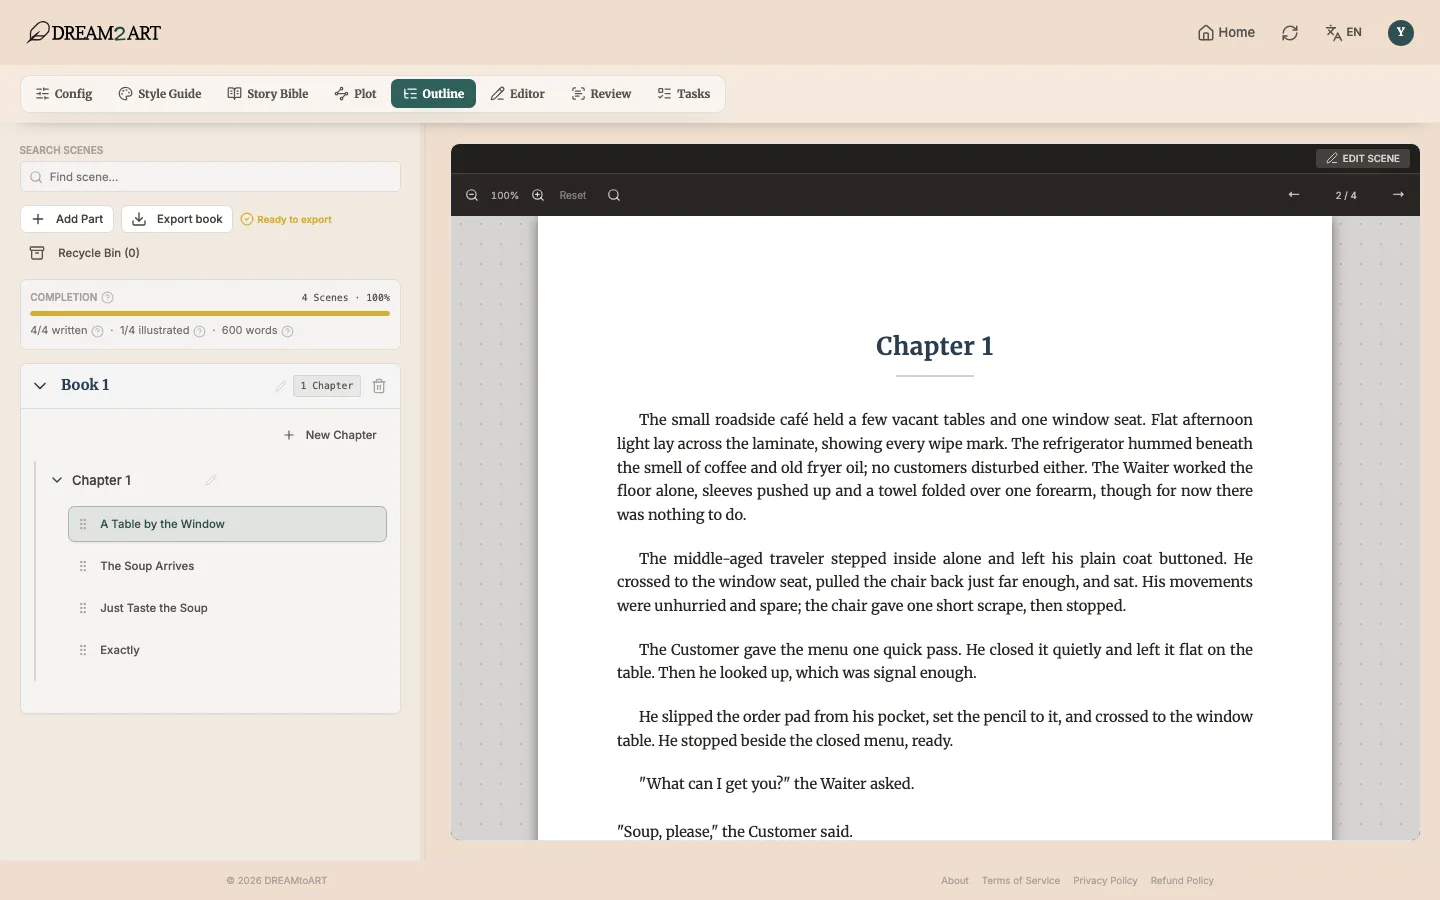
The Outline tab is the book's skeleton: parts, chapters and scenes, plus a live preview of the book as it fills in.
A new project arrives with one part, one chapter and two empty scenes. Rename them, add what you need, and drag to reorder (on a phone, use a row's ⋯ menu). A scene is the unit everything else works with — generation, illustration and review all operate per scene.
The completion meter tracks how much of the book has content. A scene counts as written once it holds at least one block, even an empty draft; when every scene does, the bar turns gold and a Ready to export badge appears beside the export button.
- Keep scenes small — one turn of events each. Long scenes generate worse and are harder to fix.
- The right-hand panel is the book in read mode, paginated as it will print. On a phone it is the Read tab, with pages sized to the screen.
- Deleted scenes go to the recycle bin and can be restored.
Lay out the plot
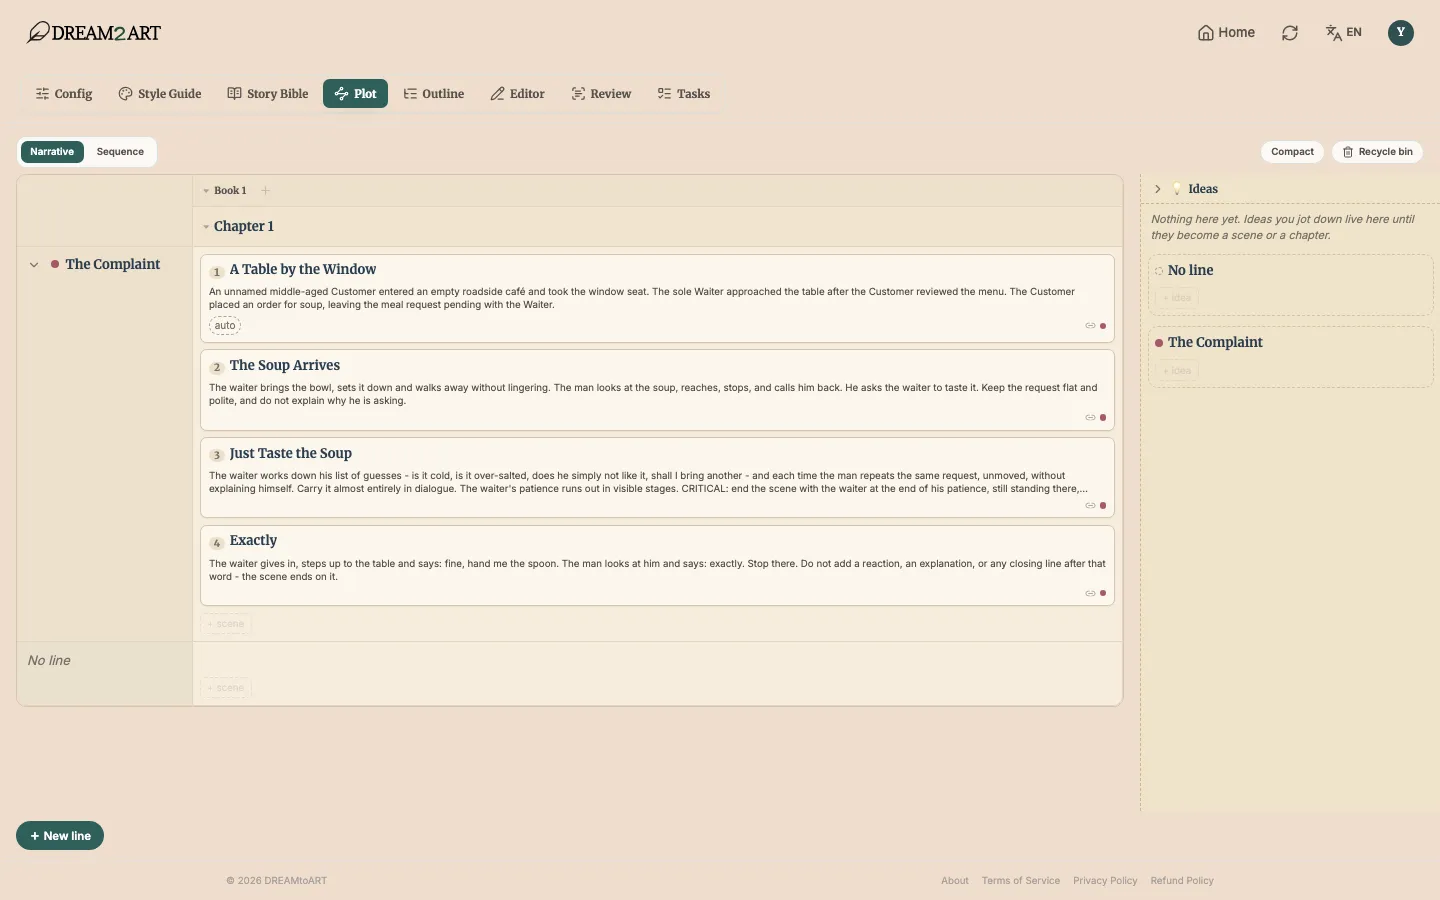
The Plot board shows plot lines down the side and chapters across the top, so you can see which thread is being served by which scene — and where a thread goes quiet for too long.
Create a line per thread: the main story, a romance, a mystery, a character's arc. A line can be anchored to a character, which makes it easy to see when they disappear for six chapters. Scenes that belong to no line sit in the bottom row.
Clicking a scene card opens the editor where you set everything a generation needs: the synopsis, the plot lines it serves, the location, and the cast. While the scene is still empty you can launch the generation from here too; once it has blocks, rewriting them moves to the scene editor, where you can see the text you are replacing.
- Only an empty chapter can be handed to the model to plan; you say how many scenes you want, from one to ten, and they are written straight into it — there is no accept-or-reject step.
- Ideas you jot down live on the board until they become a scene or a chapter.
- A line that is empty across several chapters is usually a plot problem, not a board problem.
Write a scene
This is the core loop of the whole product: describe what should happen, generate, then edit what comes back.
You can reach a scene from the Outline or by opening its card on the Plot board. Either way the setup is the same, and the more of it you fill in, the less the model has to invent.
Generated text is a first draft. Every block can be edited, rewritten, regenerated on its own, or deleted — you are not meant to accept what arrives unchanged.
The synopsis is the prompt
What you write in the synopsis is what the model is asked to write. Say what happens, in order, and say where it should stop. Vague synopses produce vague scenes, and Generate stays disabled until you have written at least twenty characters.
Instructions about what NOT to do belong here too, and they work: telling it not to write past a particular moment is often the difference between a scene that lands and one that explains itself into the ground.
Blocks
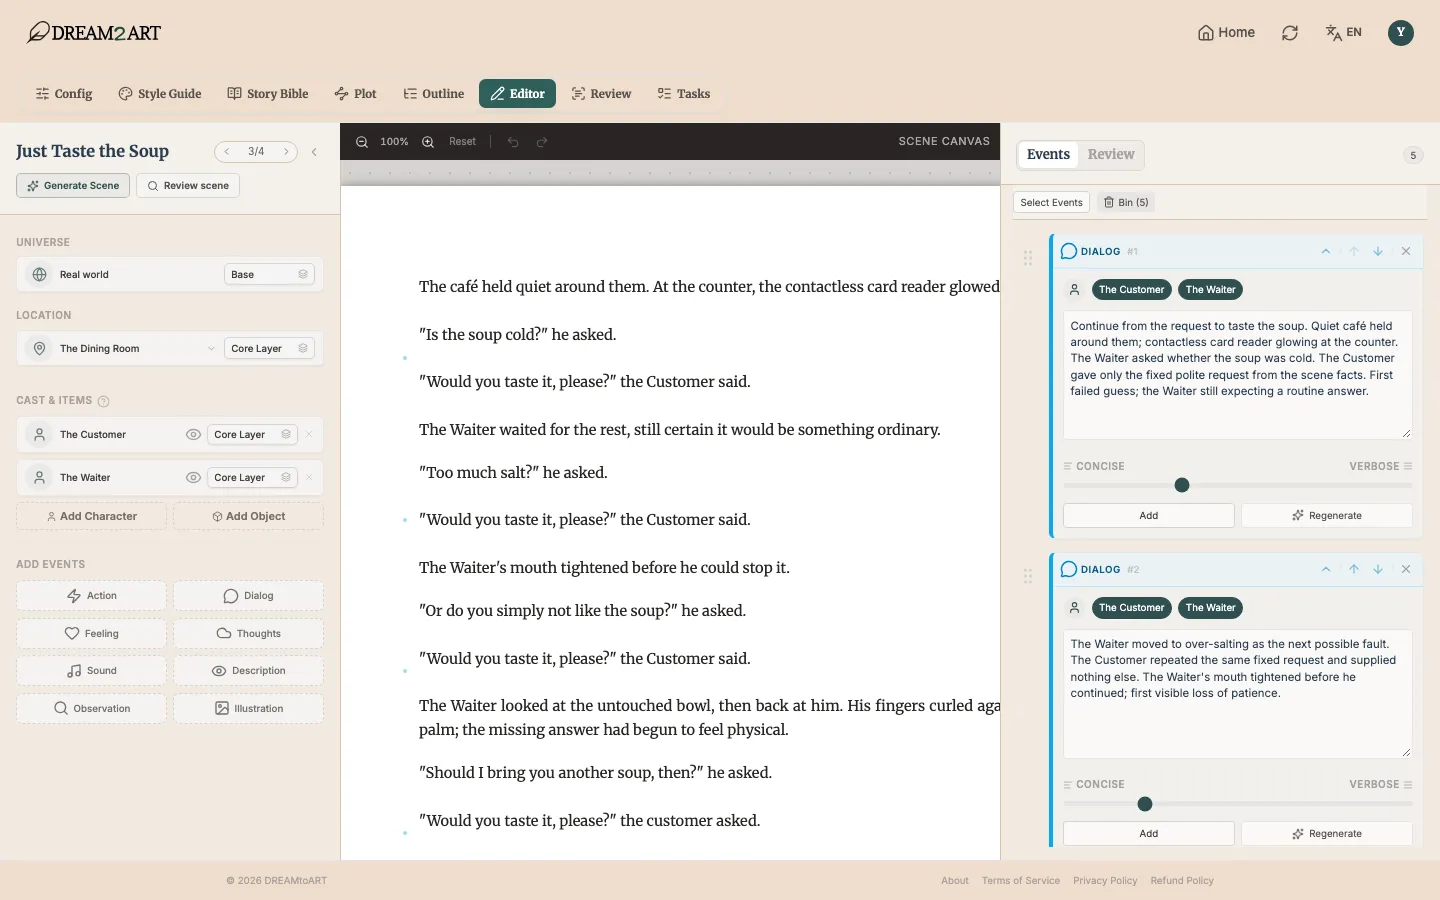
A scene is a sequence of blocks, each with a type — action, dialogue, description, thoughts, sound, observation, feeling, or an illustration. The block balance setting tells the model roughly what mixture you want.
You can add a block anywhere and write it yourself, or add an empty one and have just that block generated. The generation form carries two more dials for this scene alone: how concise or verbose it should be, and a block balance that overrides the project's.
Cast and location
The cast is who and what is present. Only the elements you name are sent, so a scene with a tight cast produces prose that does not wander off to characters who are not in the room.
The location does the same for place. If you nested your locations, the parent's context travels with the child automatically.
While it generates
Generation happens in two phases: the model plans the scene, then writes each block separately. That is why the scene appears block by block rather than all at once.
You do not have to wait on the page. Navigate away, work on something else, or close the tab — the generation continues, and every screen that shows the scene will show that it is still being written.
Let the scene grow the Story Bible
Generated scenes invent detail — a scar, a lost voice, a named innkeeper. Turn on Lore from scenes in the project settings and, after each generated scene, a model reads the new text and proposes what the Story Bible is missing: lasting facts, a new layer when a character clearly changes, and people, places or objects likely to return. It never edits a fact you already have.
The proposals appear in the scene editor's Lore tab, each with the sentence it came from. Accept, edit or reject them one by one — or choose Automatic, and they are added at once, each with a Revert button. For text you wrote yourself, press Expand lore. It is off by default, because every run costs credits.
- Regenerate single blocks rather than whole scenes; it is cheaper and more precise.
- If a scene comes back wrong, the synopsis is usually the thing to fix.
- A running generation can be cancelled from the scene editor, where the launch button becomes a cancel button.
- A scene is edited in one browser tab at a time. Open the same scene twice and the second tab shows it read-only, with an Edit here button that takes over — the first tab saves before it lets go, so nothing you typed is lost.
💡 A finished planning phase does not mean a finished scene. The first task completing only means the model has decided what the blocks are — the writing happens after that, and the scene is done when the blocks stop appearing.
Illustrate the scenes
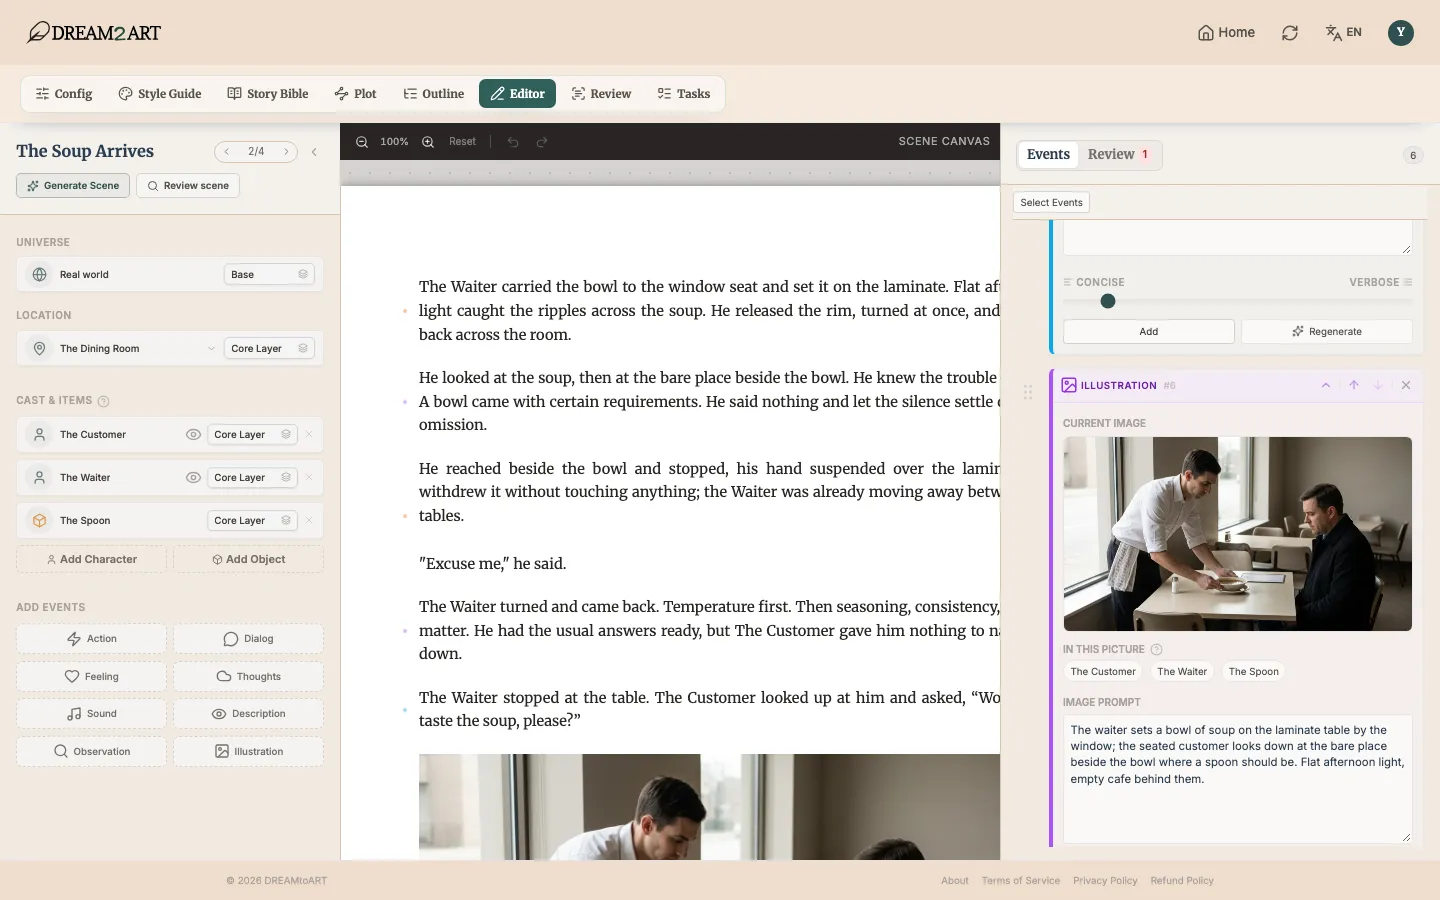
An illustration is a block like any other. You place it where you want the picture, and the generator works out what to draw from the scene around it.
You never pick a reference image by hand. The generator receives the whole catalogue of your cast's images and chooses what the described moment needs — a face for a close conversation, a full figure for someone crossing a room.
What you do control is scope. An illustration block has its own participant list: name a character or an object on it and the picture is of them, in this location, and nothing else. Leave it empty and the entire scene cast is sent.
- The project's visual style reference keeps every illustration in one style.
- Set the block's participants when the scene is crowded and the picture is not.
- A scene with no illustration is perfectly normal — pictures earn their place.
Review the draft
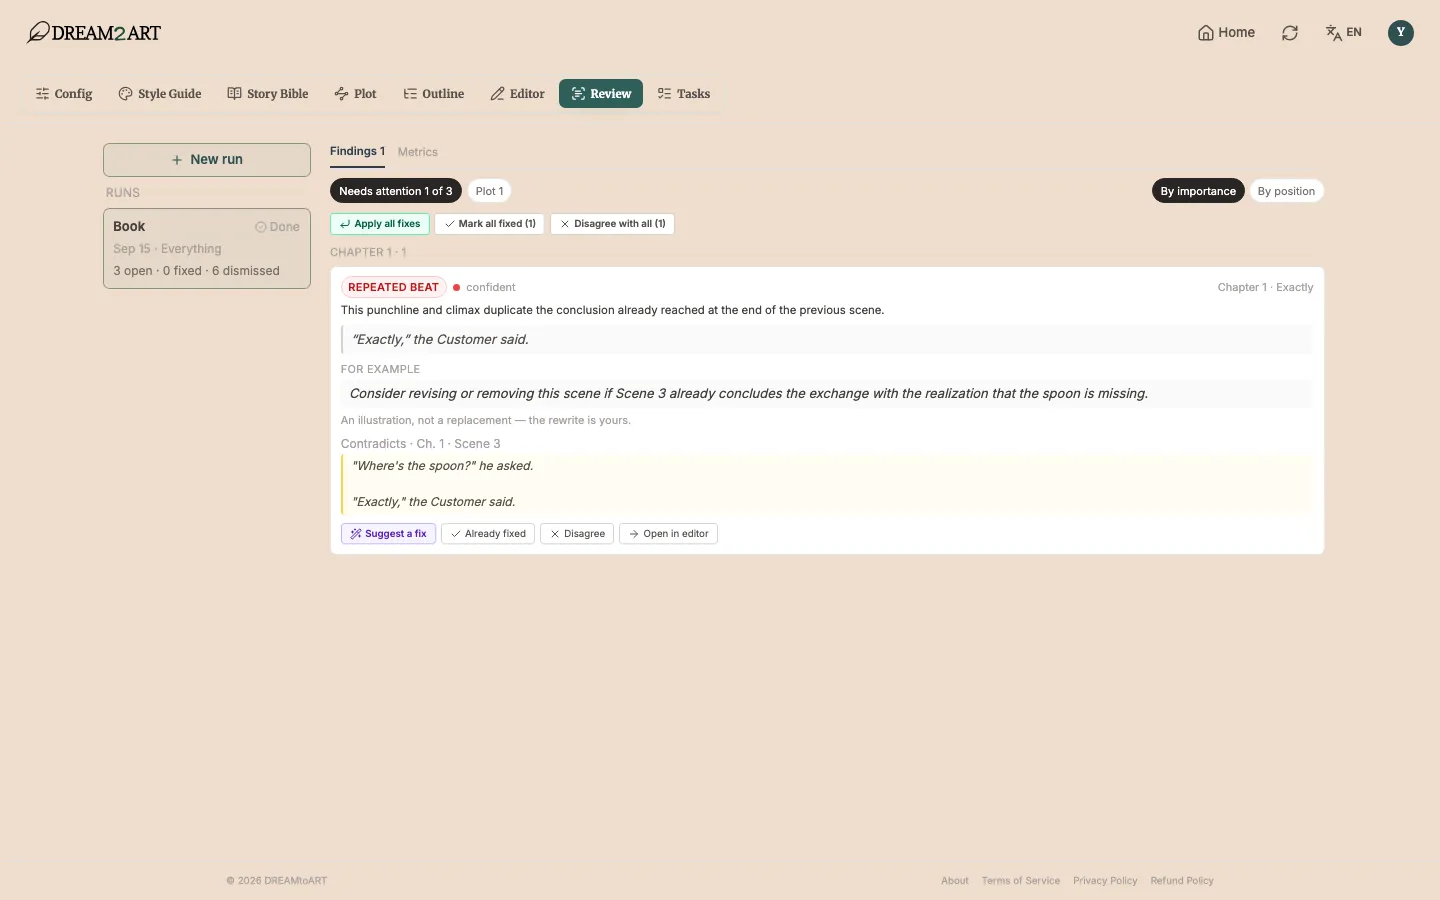
Review reads the draft back and reports what a reader would trip over: both the contradictions that are invisible while you are writing chapter nine, and the sentence-level habits that pile up unnoticed.
Two families of check. Continuity, measured against your Story Bible and the earlier scenes: eye colour that changes, an object in two places, a character who knows something they were never told, a timeline that does not add up, a thread you set up and never paid off. And craft, inside the prose itself: repetition, clichés, adverbs, telling where you meant to show, dialogue punctuation, a character whose voice has drifted, a style rule you broke.
Each finding points at the scene and the text that triggered it. You decide — some are real errors, some are deliberate, and dismissing one is a normal outcome.
- Run it after a chapter is written, not after every scene.
- A finding is a question, not a verdict — you are the author.
- Set the scope before you start — one scene, a chapter or the whole book — choose which checks to run, and the dialogue estimates the cost first.
- A re-run can be narrowed to what changed since the last one, or to verifying the fixes you made.
Read it and export
Read mode paginates the whole book as it will print, illustrations in place. It is the first time the thing reads like a book rather than a project.
The preview lives in the Outline tab and respects the page size, typeface, spacing and chapter headings you set in Layout & Export. Change one and the pagination follows. Page numbers and running heads are the exception — they exist only in the exported PDF and DOCX, never in the preview.
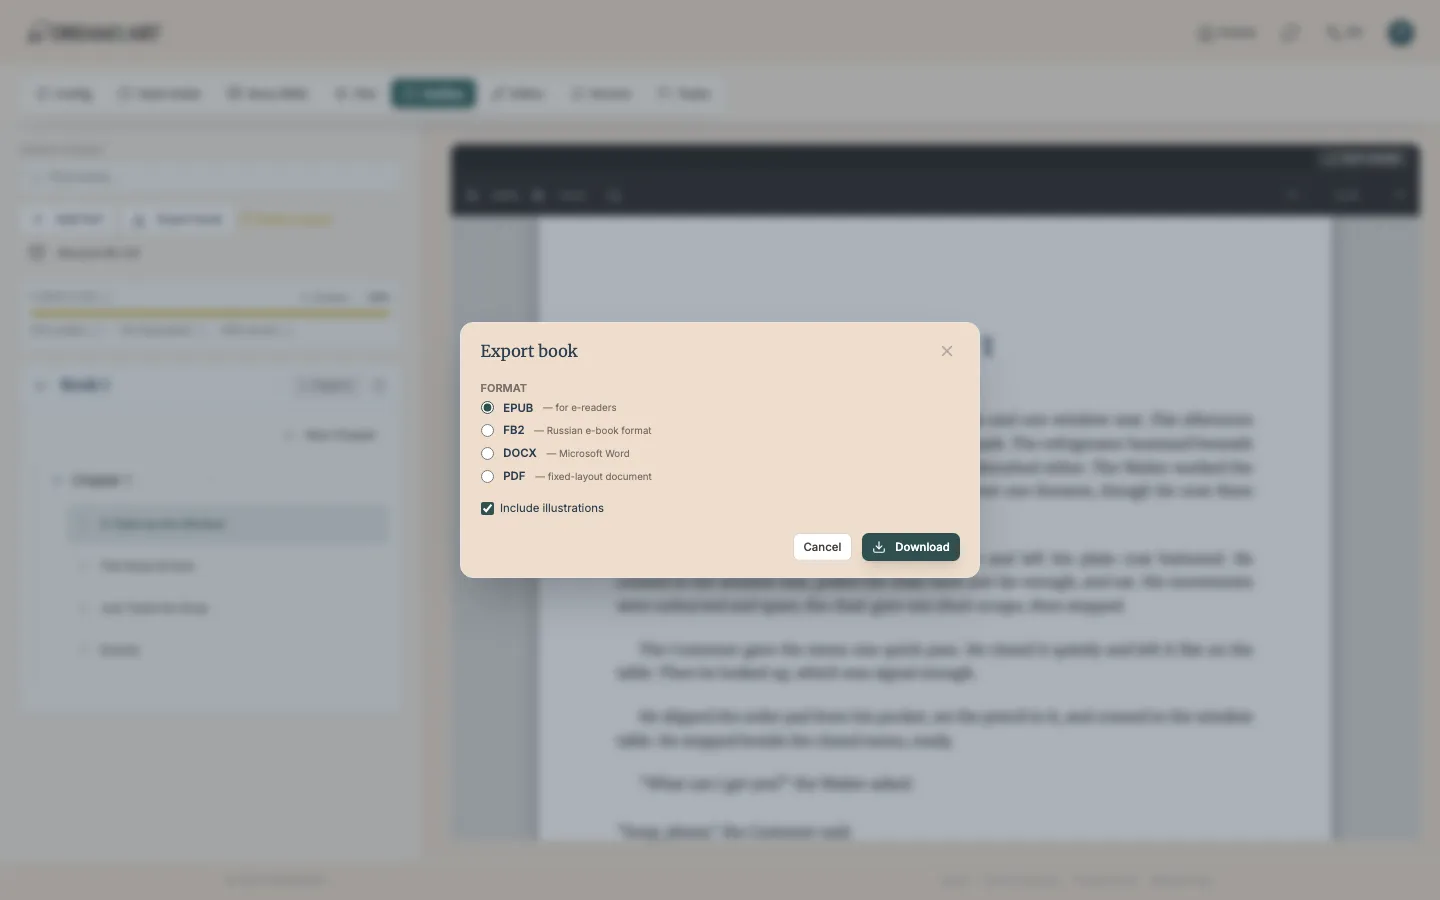
Export offers four formats: EPUB for e-readers, FB2, DOCX and PDF, with illustrations in or out. It is available at any time, not only once the book is finished, so you can take a file away mid-draft. PDF needs an embeddable typeface for the book's language; where there is none the option is greyed out and EPUB or DOCX carries the full text.
- Read the book in read mode before exporting; errors hide in the editor and stand out here.
- Illustrations are never split across a page break.
- Typography changes repaginate the whole book — expect page numbers to move.
💡 Nothing stops you exporting a half-written book, and an empty draft block is enough to count a scene as written. Before you send a file to anyone, read the preview through rather than trusting the completion meter.
Credits and tasks
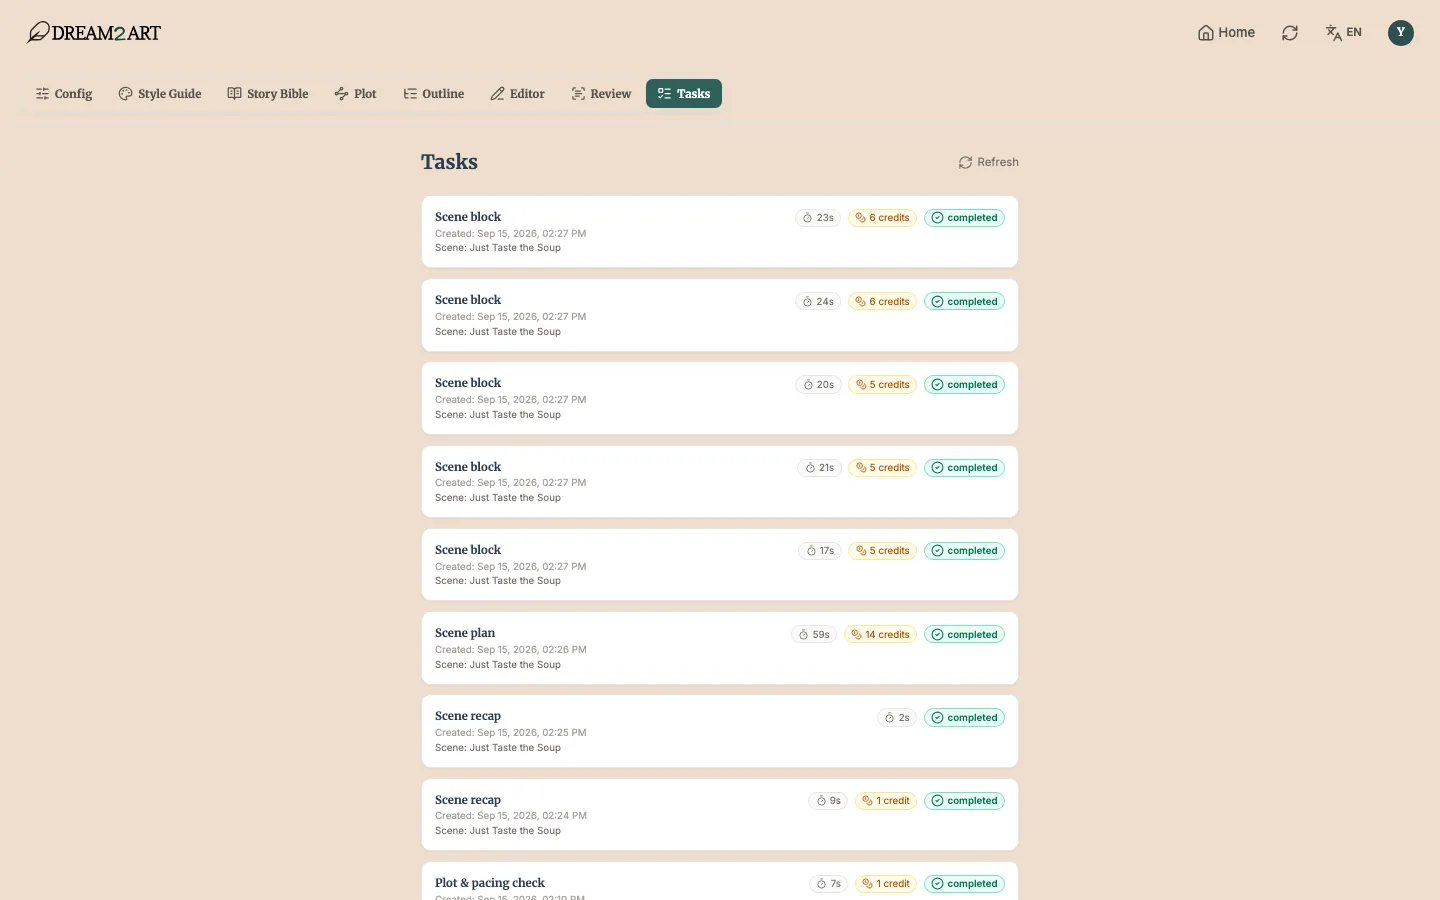
Every generation costs credits. The Tasks tab is where you see what ran, what it cost, and what went wrong.
Text and images are priced differently, and a scene costs more than a single block because it runs several generations. A new account starts with a welcome bonus and on pay-as-you-go, which spends only what is in your wallet; a subscription adds an allowance that refreshes weekly. Credit packs, subscriptions and coupon codes all live in your account, and topped-up credits never expire.
Tasks lists every run for the project with its status, duration and cost, newest first — older runs load when you ask for more. A failed task is charged for what it used, so it is worth checking rather than immediately retrying.
- Tasks is a read-only log — cancel a running generation from the screen you started it on.
- A task stuck for a long time is recoverable — the system retries abandoned work before giving up on it.
- Spending is broken down per project in your account, which is the fastest way to see where credits went.
- Every generation shows an approximate cost before you run it — next to the button in the scene, chapter-plan and Story Bible dialogs, on each block's Generate button, and in the corner of an empty character view.